SilHouette Project
In this project, we demonstrate our knowledge of analogous colours, paint blending and drawing. Choosing an analogous colour scheme, you will fully paint a whole page and overtop draw in pencil then paint over in black a silhouette of something meaningful for you.
analogous colors
What are analogous colours?
Analogous colors are similar to each other; not opposites like complementary colors. They are the 3 to 5 colours you find in a row on a colour wheel. For example, yellow-green, green, and blue-green. (As you can see below on the colour wheel picture).
Using analogous colors creates a harmonious colour scheme, and an ascetically pleasing background for this project.

The project
1. Begin by choosing your 3-5 analogous colours you are going to use for your painting.
Prepare your colours, and on your paper begin by painting one edge with your lightest colour.
2. Then, slowly add your second colour, to your paint and keep going with your following colours until the other edge of the paper is completely your final colour.
The less colours you choose, the easier it is. For example, starting with yellow then adding green creates the yellow green in the middle and ends in just green. Adding more colours means you have to be carefully spaced out as you go. Use light pencil lines to mark where you need to start your next colour.
3. Once the whole paper is painted, leave to dry.
4. Now is the time to be inspired and do some research as to what you want your silhouette to be of. Choose something that is meaningful to you, something that inspires your creativity.
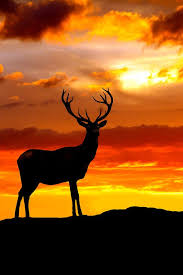
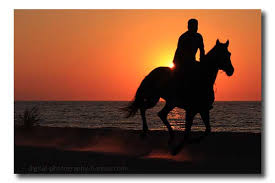
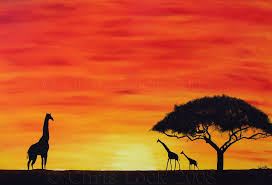
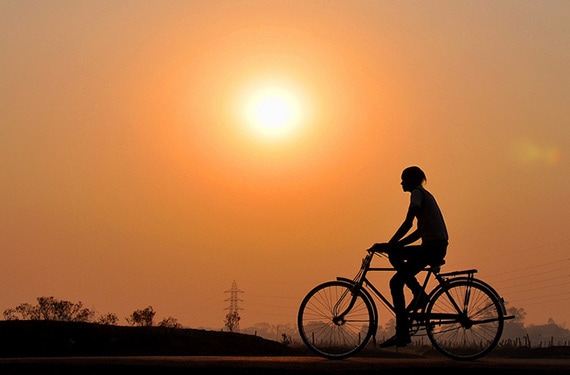
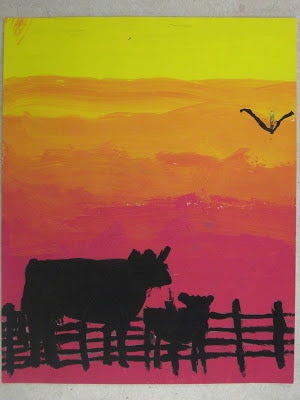
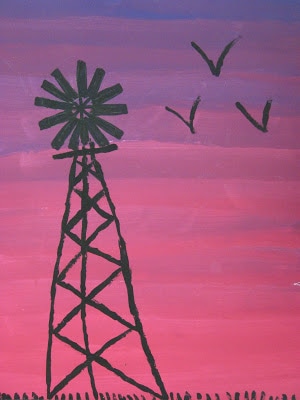
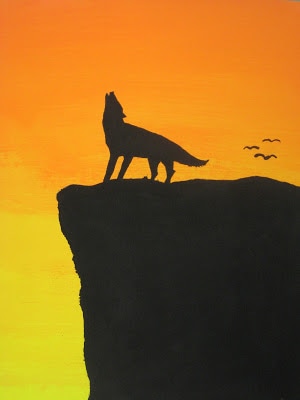
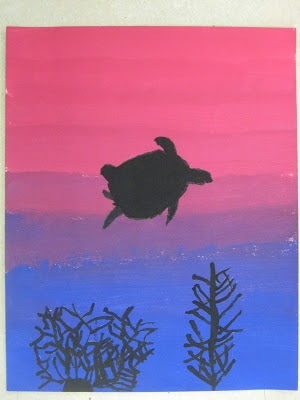
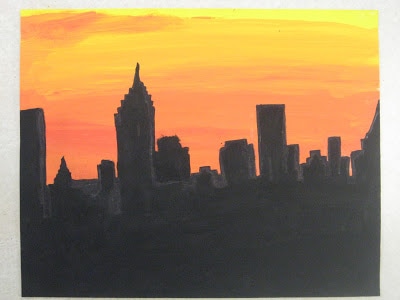
Think of capturing a sunset with a camera and creating a silhouette in the photograph, like the images below. What would you photograph?
Prepare your colours, and on your paper begin by painting one edge with your lightest colour.
2. Then, slowly add your second colour, to your paint and keep going with your following colours until the other edge of the paper is completely your final colour.
The less colours you choose, the easier it is. For example, starting with yellow then adding green creates the yellow green in the middle and ends in just green. Adding more colours means you have to be carefully spaced out as you go. Use light pencil lines to mark where you need to start your next colour.
3. Once the whole paper is painted, leave to dry.
4. Now is the time to be inspired and do some research as to what you want your silhouette to be of. Choose something that is meaningful to you, something that inspires your creativity.
Think of capturing a sunset with a camera and creating a silhouette in the photograph, like the images below. What would you photograph?
|

|
|
|
|

|
5. Once you have decided what you want your silhouette to be, practice sketching it in your sketchbook.
6. Then, draw it lightly in pencil on your dry analogous painting. You only get one shot with this, so choose carefully and go slowly.
7. When you are happy with your pencil drawing, use a combination of black sharpies/pen and black paint to fill in the silhouette. Make sure you are mostly seeing the colour and your painting is not mostly black.
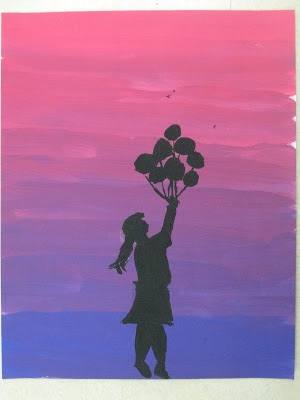
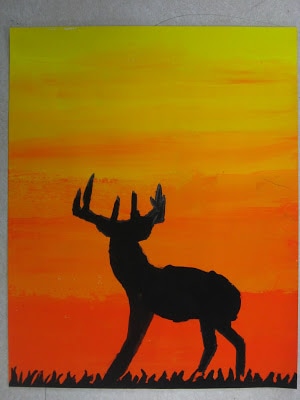
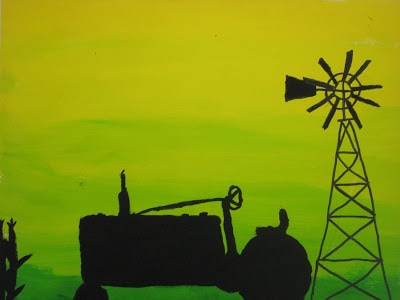
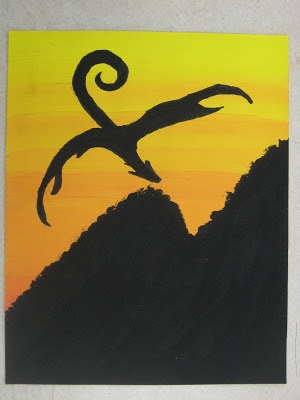
Below are some examples from http://missyoungsartroom.blogspot.ca/ and her art class.
6. Then, draw it lightly in pencil on your dry analogous painting. You only get one shot with this, so choose carefully and go slowly.
7. When you are happy with your pencil drawing, use a combination of black sharpies/pen and black paint to fill in the silhouette. Make sure you are mostly seeing the colour and your painting is not mostly black.
Below are some examples from http://missyoungsartroom.blogspot.ca/ and her art class.
|
|
|
|
|
|
|
|
