Earth Clay Scultping - The basics
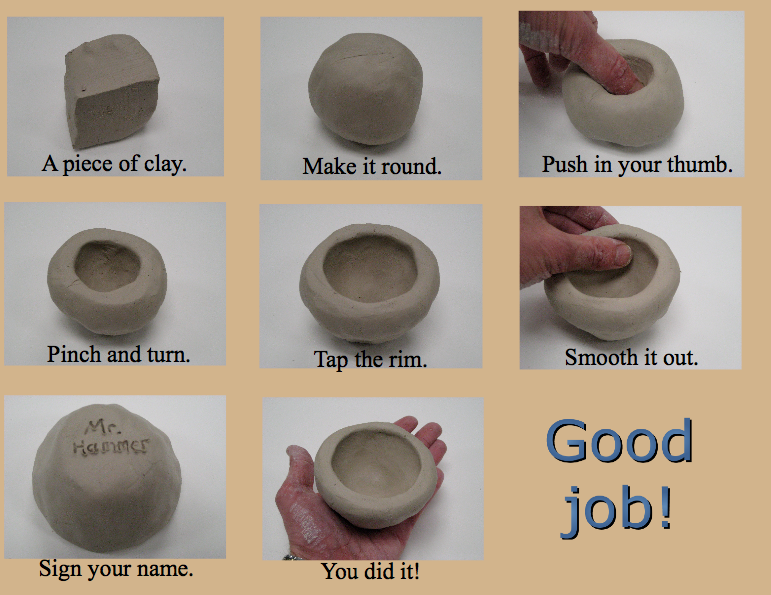
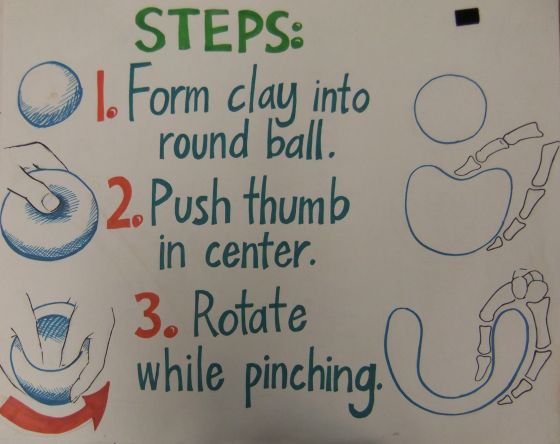
Making a Pinch Pot
We are going to be making basic pinch pots and adding at least one piece to them as decorative addition using slip and scoring method. See the instructional videos and images below to help you in your process.
|
|
Slip and Score
|
|
|
|
Keeping your work in progress and How to finish your work
As seen in the second Pinch Pot video, to keep your clay work in progress malleable, you have to keep it moist. You do this by wrapping it lightly with a damp paper towel and keeping it covered in a plastic grocery bag, tupperware container or ziplock. The longer you are keeping it untouched, the more airtight you want your keeping container.
Once you are finish moulding your clay creation, it is time to fire it! This means we have to put your creation into a kiln and essentially bake the clay. If there are parts of your creation that are too thin or not properly attached or balanced, there is a chance that while it bakes in the kiln it will fall apart. But - this happens! And it happens a lot to artists of all experience levels. If it happens to your work, there are two options:
1. Realize it isn't a big deal, laugh it off and make another one!
2. Realize it isn't a big deal, laugh it off and hot glue the pieces that broke back together as best you can. It certainly gives your work character!
If you want to glue the pieces back together, you have to first glaze your work and fire it a second time.
This step is what we do regardless, if we want to paint our work with glaze. Glazing our work means the colour stays permanently and gives our work a shiny finish. You can use your pots for treats and snacks once it is glazed, sometimes even liquid like soup or hot chocolate if it is made right! However, if you paint it with acrylic paint it becomes just a decorative piece that you will not be able to wash and may not keep it's colour permanently.
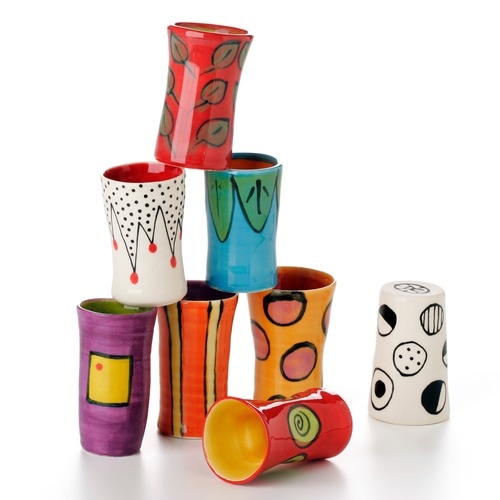
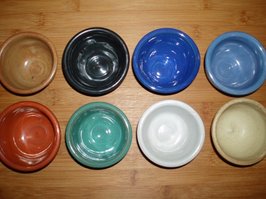
Glazing
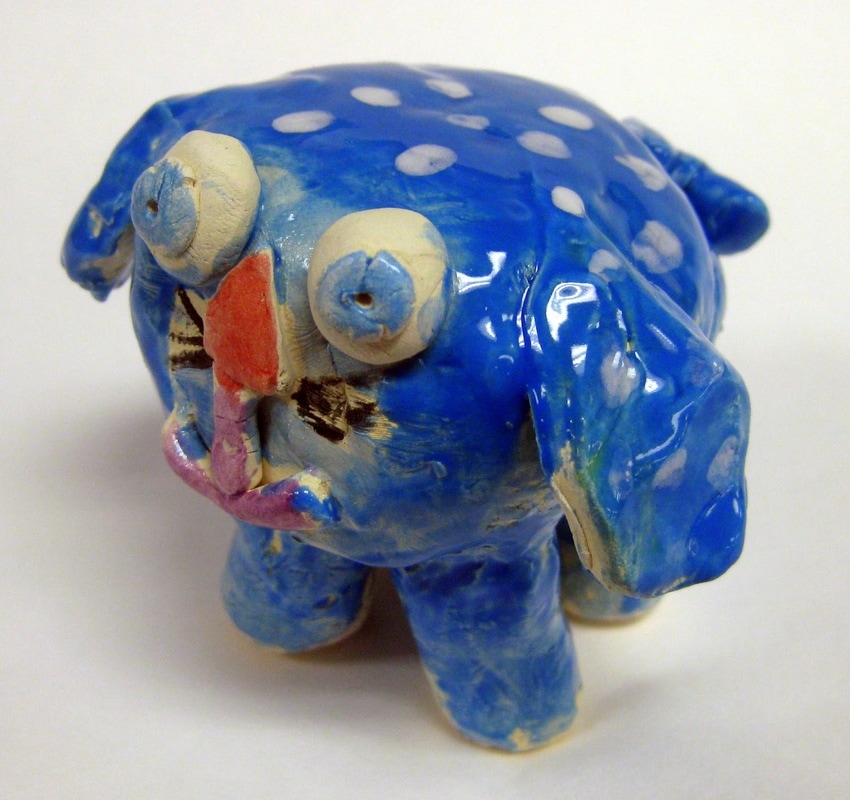
Glaze can be used to add and keep colour on already fired clay, now called ceramic. You can paint it on just like other paint, but it comes out as a much more rich and vibrant colour than it looks when you are painting. Once you have finished glazing, the creation needs to air dry and it is then fired again in the kiln. There is still a chance in this process your creation could break, particularly if it is fired close to another creation - as the glaze can stick together and cause both creations to be deformed or break. On the other hand, painting your ceramic with acrylic, all-purpose or outdoor paint gives you more control and does not require firing after.
|
Glazed
|
|
|
|
|
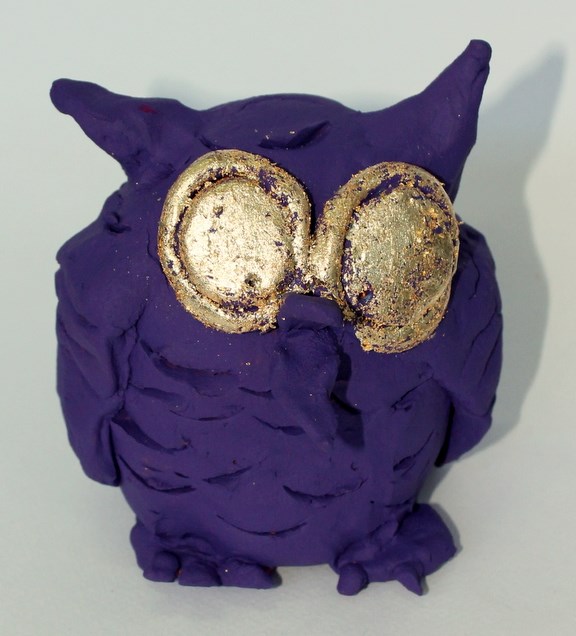
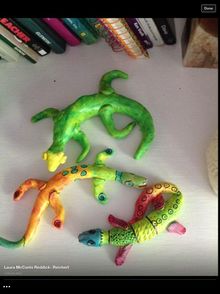
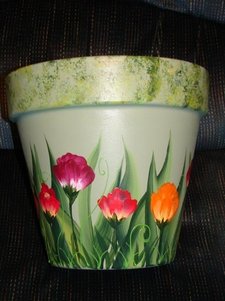
Painted with Acrylic or Outdoor Paint
|
|
|
